-
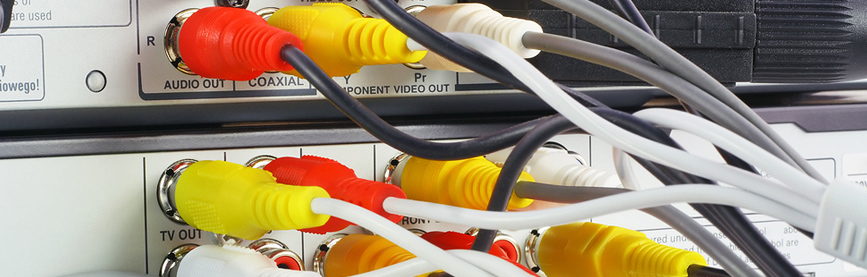
Hollow plinths
Hollow or flexible plinths are ideal for hiding cables, and are fitted onto a carrier strip mounted on the wall. They are available in almost all floor laminate colors, with inside and outside corners, and including end-pieces.
-
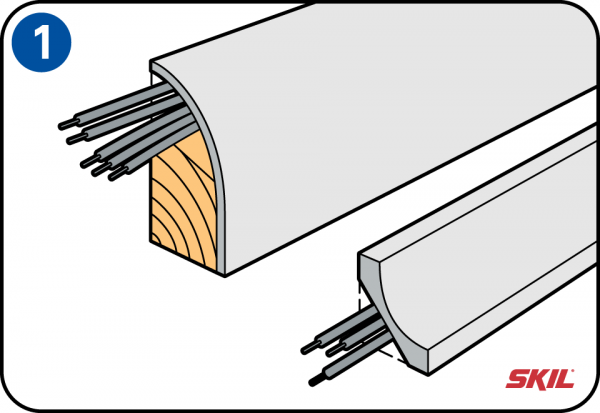
How do you fit them?
The carrier strip and the plinth itself can be secured with steel nails, screws or adhesive. The advantage of using adhesive is that no unsightly nail or screw heads are visible. Screws have the advantage that you can easily remove the plinth later to add another cable.
-
Cutting to length
Carefully measure the required length of the plinths, and cut them to length at an angle of 45° in the corners. First cut the angled end before cutting the plinth to length, so if you make a mistake at the angled end you can still correct it.
-
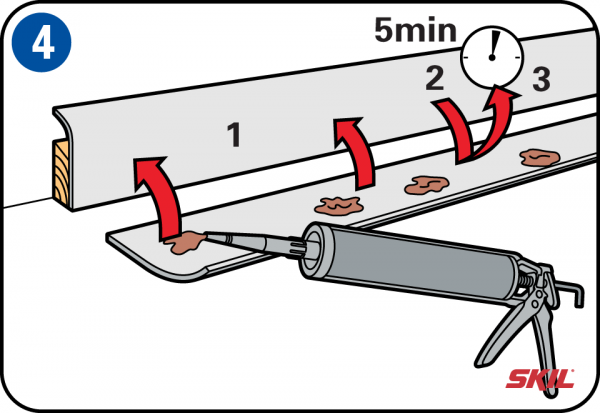
Gluing
Apply enough spots of construction adhesive to the plinth. Place it against the wall and then remove it again immediately. Allow the adhesive to dry for 5 minutes and then place the plinth on the wall again. Tap it into place, and the plinth is now firmly attached.
Note: some construction adhesives bond immediately, so read the instructions carefully first! -
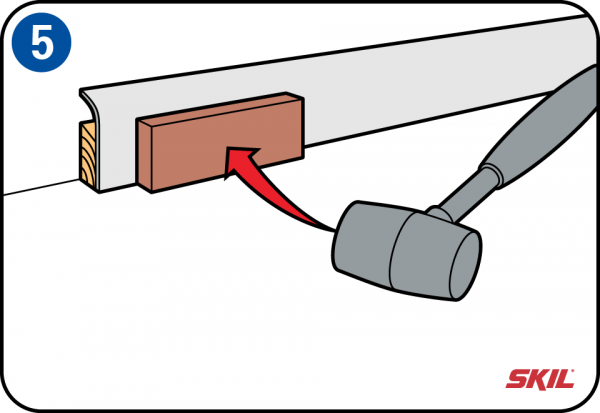
Tap into place
Tap the plinth firmly into place with a rubber hammer and a strip of wood to protect it, so that you do not hammer directly on the plinth.
-
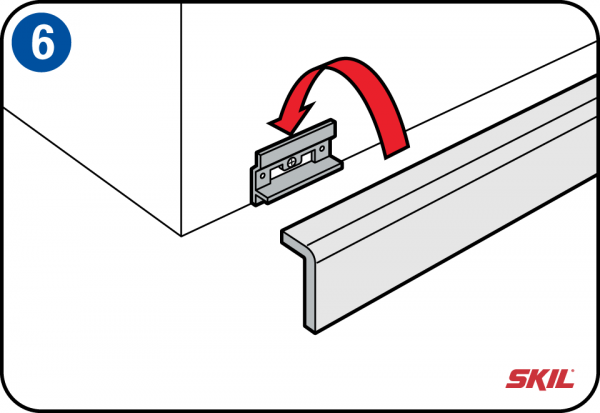
Plinths with clips (optional type)
This variant of the flexible plinths has more space behind it, and is secured with special clips. The cable area has separate channels for mains and low-voltage cables.
-
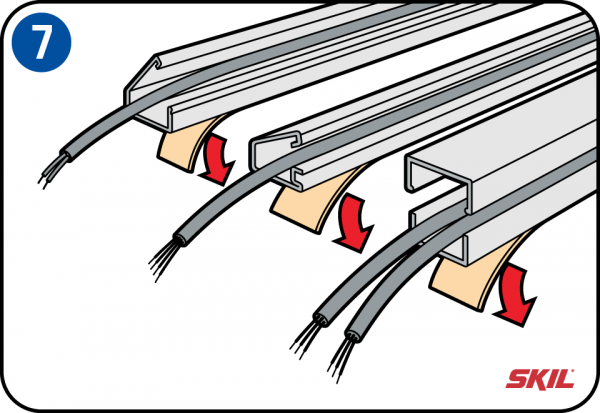
Self-adhesive cable ducts (optional type)
If you only want to hide a few cables and these are not too thick, you can use self adhesive cable ducts. These are convenient to use and less visible, especially against a white plinth. However you can’t use them instead of a plinth, because they don’t provide any protection for the wall.
-
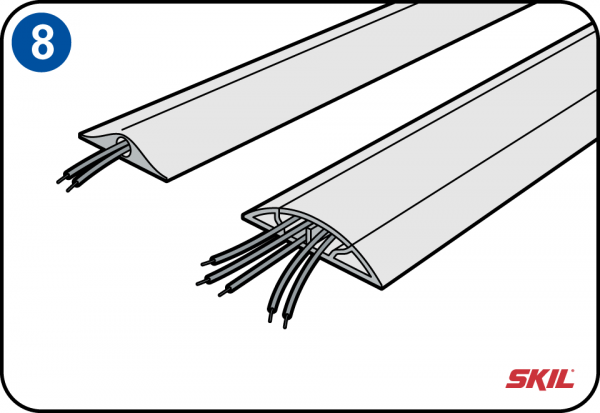
Floor ducts (optional type)
Floor ducts are ideal for bridging a door opening, for example. They are available in different types and sizes.
-
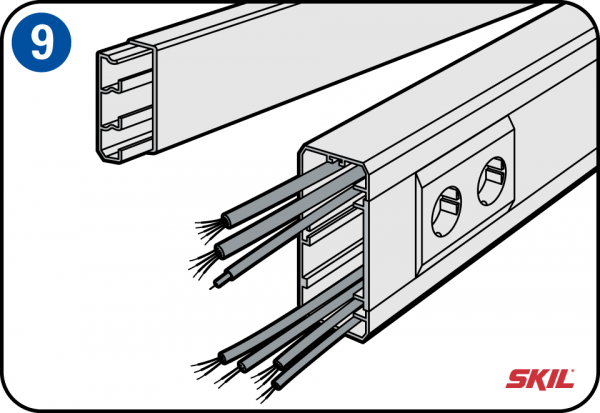
Wall ducts (optional type)
Wall ducts are ideal solutions for (home) offices, and they can be combined with wall-mounted switches and power sockets. The advantage is that low-voltage cables such as antenna, internet, telephone and SCART cables are passed through a separate channel. This is safer, and less likely to cause noise or interference.